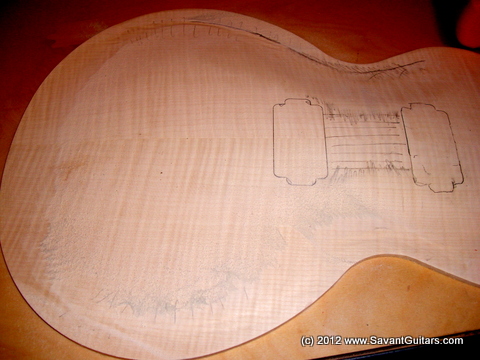
Let´s roll: starting point of this Les Paul 1959 replica-project is the top:
Vintage correct material for the top is (so called) "Eastern maple", what stands for a variety of maple species originating from the Eastern part of the US, just around Gibson´s Kalamazoo plant in Michigan where the vintage Les Pauls were made ... not just Hard Maple (as often claimed) was used, but also Red Maple and Sugar Maple. Tops were not always bookmatched, flip-matched tops exists as well as 2-piece tops with a glueing line not being centered (at 2/3 of the top width the joining seam is done here).
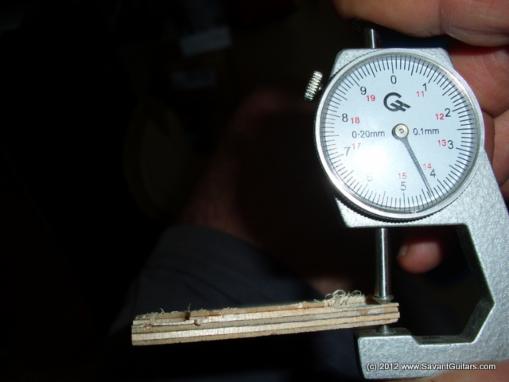
Gibson´s worker finally sanded the rough routed tops by hand with a slack belt sander (top coming from a duplicator that was not equipped with routers but with blades) - depending on the individual sanding process the thickness and shape is not consistent, but for a 4.0-degree neck angle the thickness of the top should be 9/16´´ (14,3mm) at thickest point (tailpiece) to get a low action (thinner tops require higher positioned ABR1-bridge and we are going for a low setting of the bridge, just right above the top). Thickness at the edge was quite consistent and reads as 0.172´´(4,36mm), apart the horn-cutaway section of course. Thicker versions exist, too, remember the slack belt sanding process by hand ... ;-)
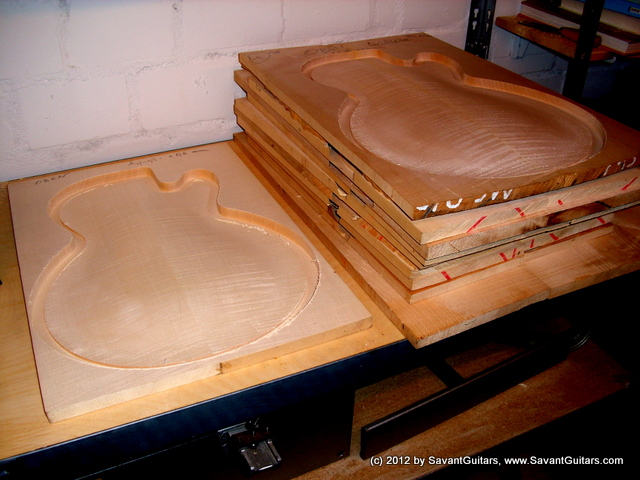
We were lucky enough - and for ever thankful - to get a master body for transfering a vintage correct arch of the top into the CAD/CAM-system from a (very) renowned luthier for 59 LesPaul replicas. The tops are routed from oversized (glued) blanks, bookmatched and sanded flat at the bottom, being a bit thicker than the final thickness of the routed top. When the top is routed out of such a joinded and prepared woodblock it finally ends up sitting in a "contoured fence" (cage) for protection. The outline is contoured to less than 1mm thickness at the bottom of the rout, ready for separating using a flush router once the tops will be used (calculated to become a top of correct thickness after being routed out of the frame), see pics below.
The tops and backs for the builds shown here we did on the CNC, big advantage is minimizing the time consuming carving process, apart from accuracy of course, this way we can start with sanding and no planes and rough machines are needed... the disadvantage is that CNC´ing just makes economically sense when producing lots of i.e. 15-20 pieces. From the (compared to hand-held routers) fast CNC-routing operations the wood´s surface heats up from milling, a bit more than doing this process slowly by hand. Therefore the wood has to be especially dry to avoid warping. We are lucky to have about 50 well seasoned and highly figured maple tops in stock, some you can find here.
Basic
measurements of a Les Paul body are a little less than 17 1/4 inch
(438mm) length and a little bit more than 13 inch (330 mm) width at
widest, as given by Gil Yaron. Our (and John Catto´s) measurements
differ a bit, being a bit wider and longer: width is still a bit more than 13 inch, but here exactly 333 mm, length is a bit _more_ than 17 1/4 inch (442mm). We stick to our measurements.
Thickness of the mahoganie core (without maple top) is always 1 3/4´´ (44.5mm).
---
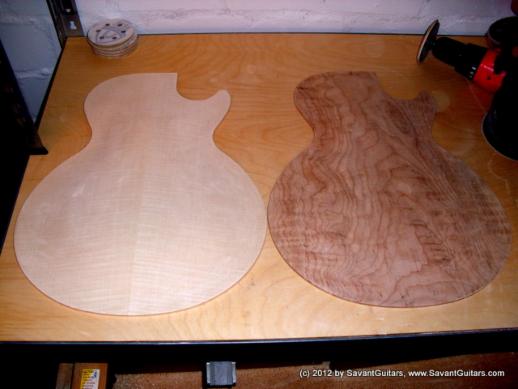
We start the build with selecting the tops from a bunch of CNC´d maple tops from various origins, incl. Eastern (Hard) maple and finest European mountain maple:
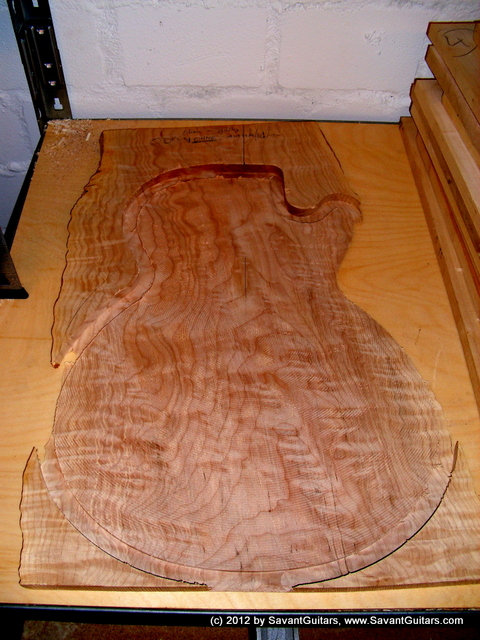
The selected flamed maple top is Eastern maple - but form Eastern Europe ;-) ... this top is acer pseudoplatanus and therefore not fully vintage correct, but if the customer does not care, why should others...
This is a bad pic from a highly flamed maple set that was selected to become the top of the flamed LP 59 replica.

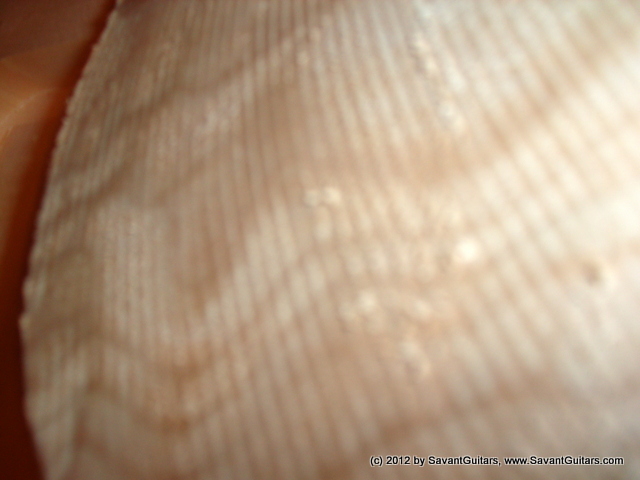
It´s more work to do than just routing the top out of the frame: the tops come out of the CNC routed with a circular routing strategie, leaving a surface that is loaded with small (tiny) grooves from milling /from the bottom of the ball router that was used on the CNC. These need to be trued first roughly, final sanding is done once the top is glued to the back later:
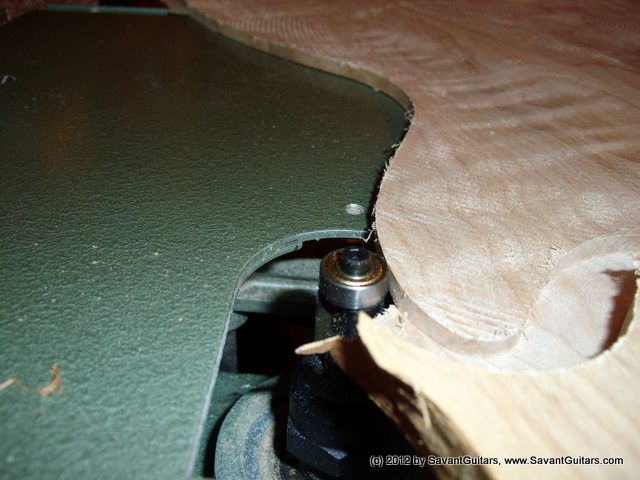
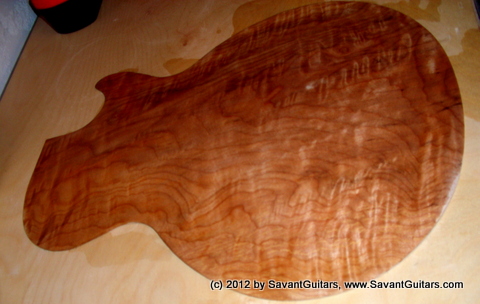
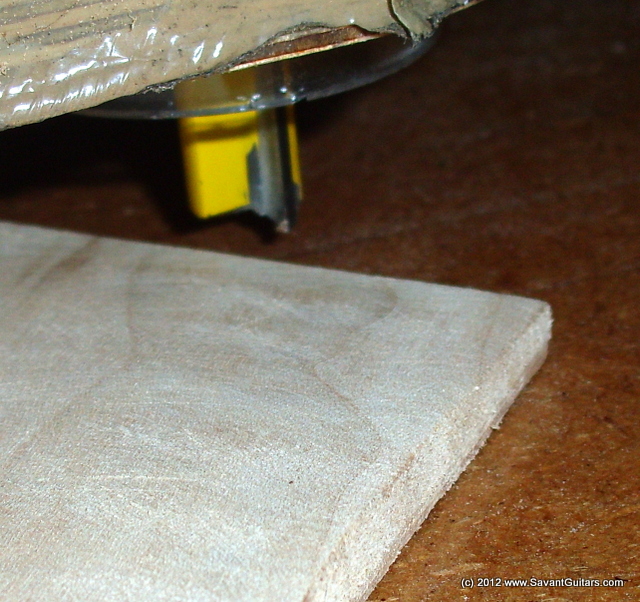
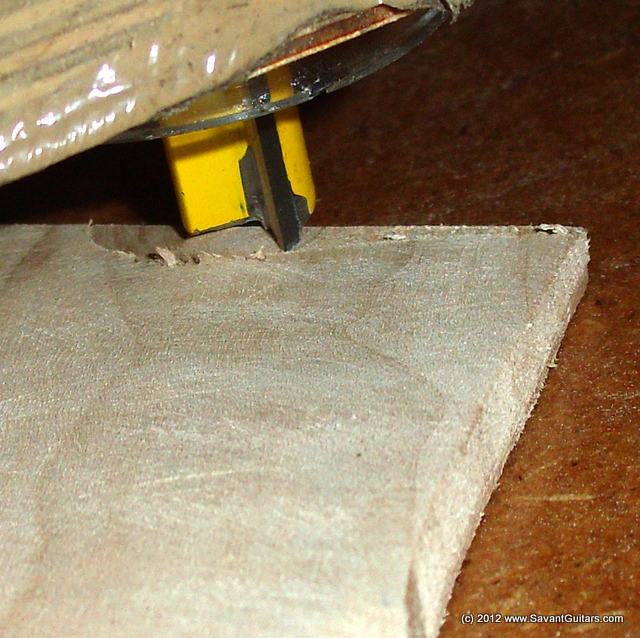
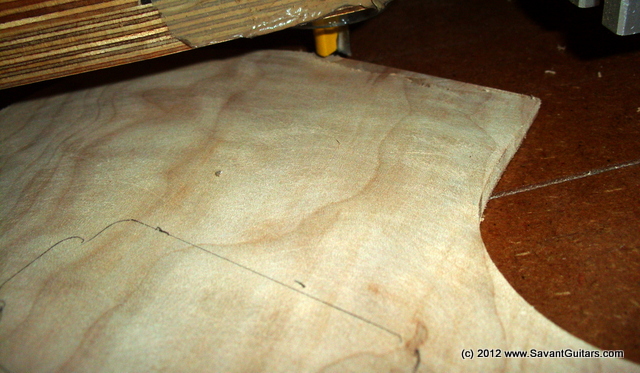
Let´s start with the first top to be release out of the "cage": simple routing with a ball bearing flush router along the CNC routed edge of the top does the job quickly (edge is almost 4 mm high and serves as a perfect guide line/template):
The easiest part of the building process continues:
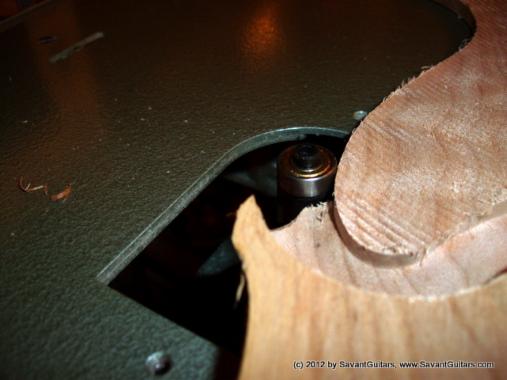
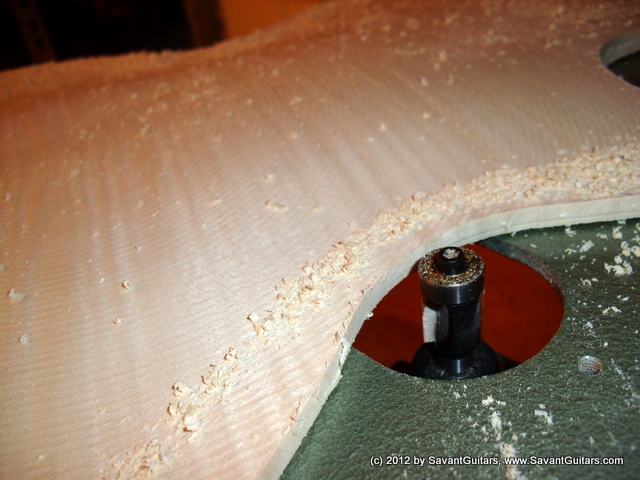
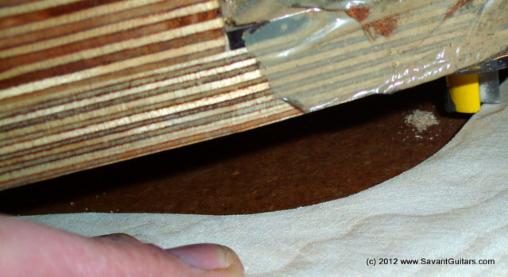
The vibration from the routing makes the wood chips wander into the re-curve area (will be finally worked out later):
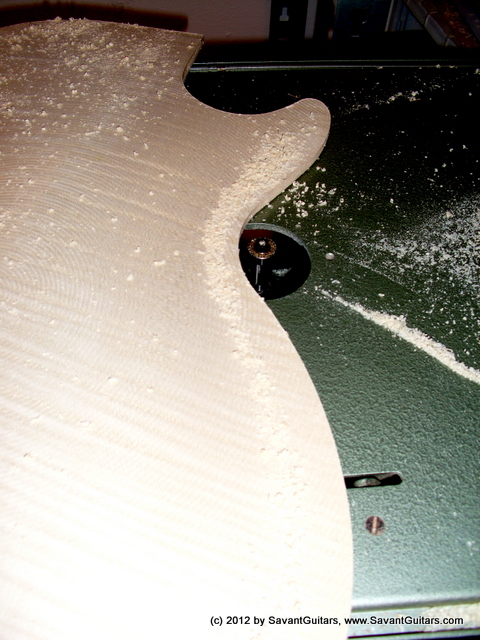
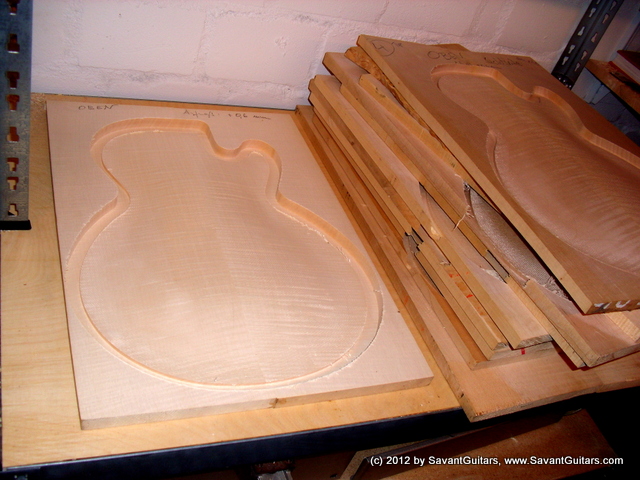
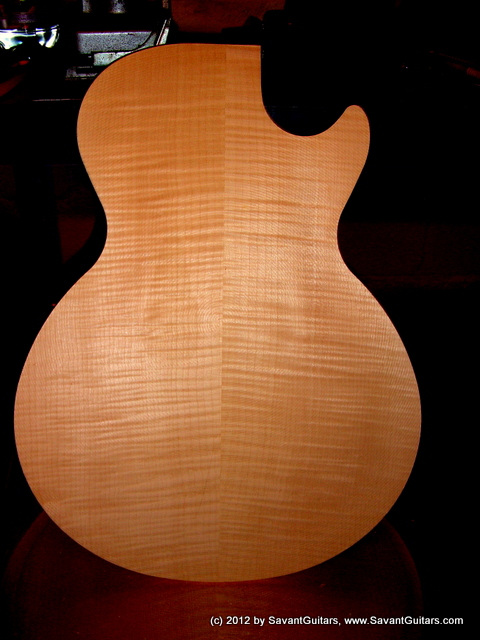
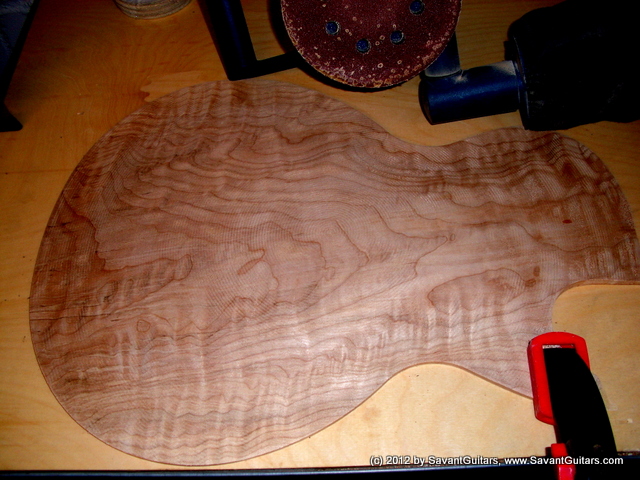
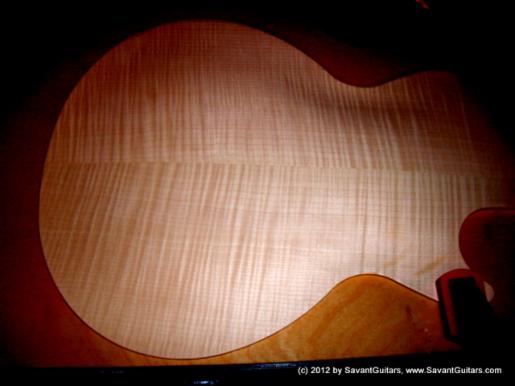
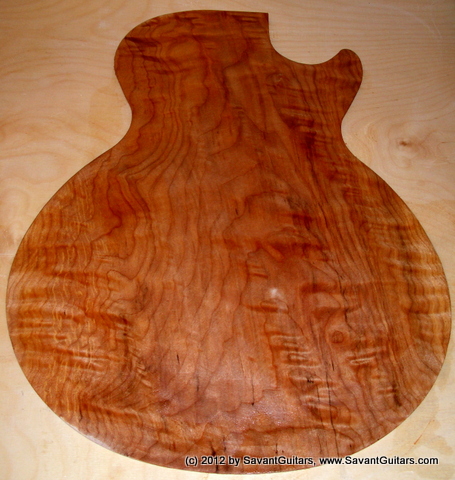
Some seconds later the top is released from it´s cage and looks beautifully like this:
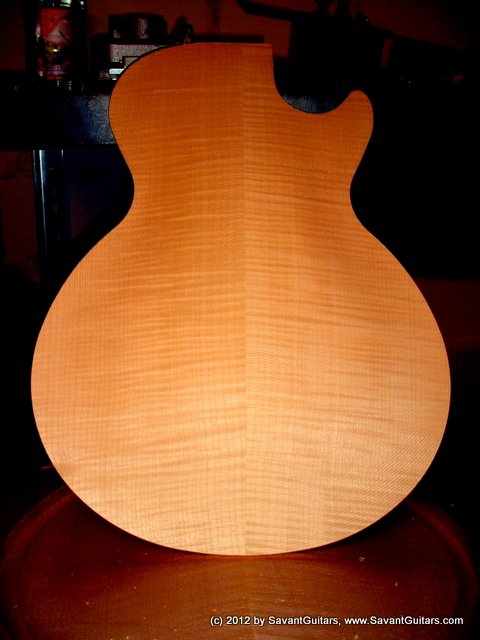
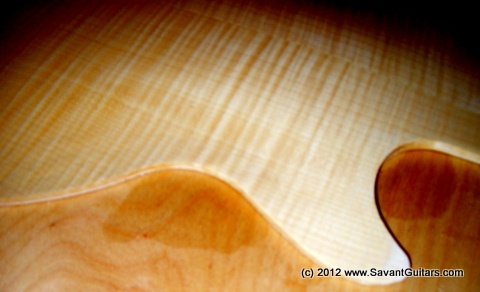
Same top, different angle, fully loaded with deep curls (still a bad pic, taken with flash):
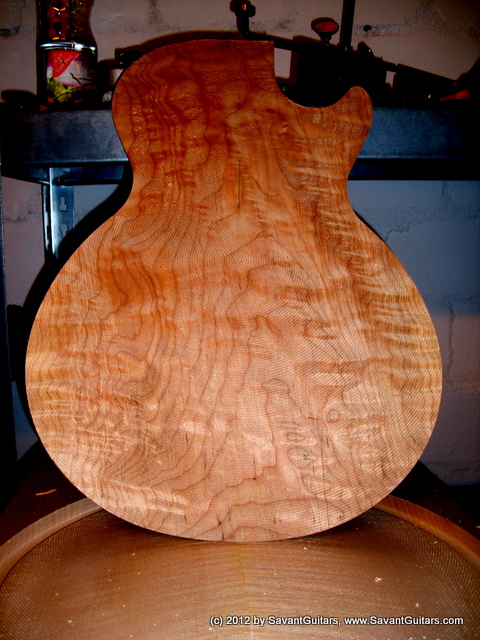
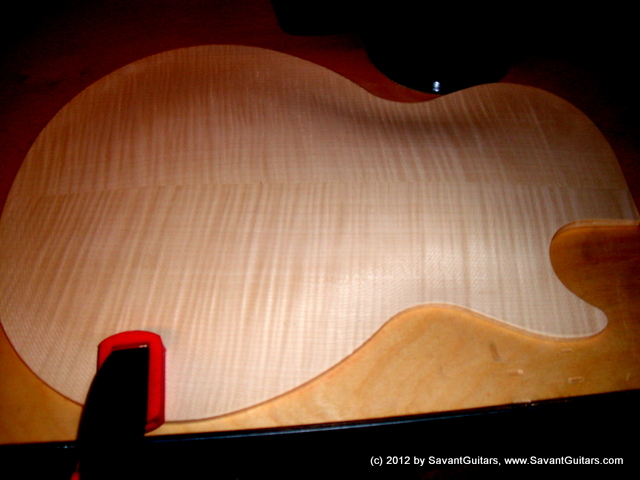
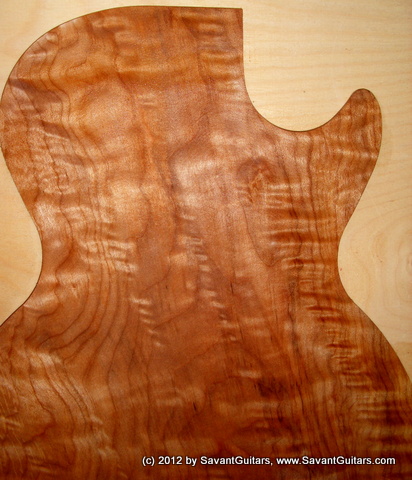
Same process as above is done to the quilted maple top, resulting in this:
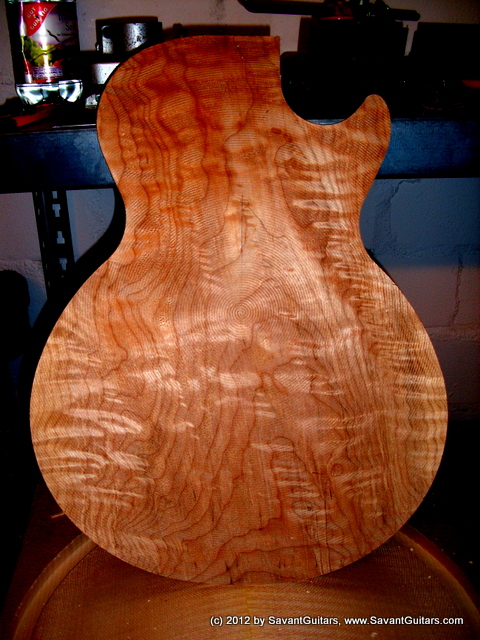
Same top, different angle:
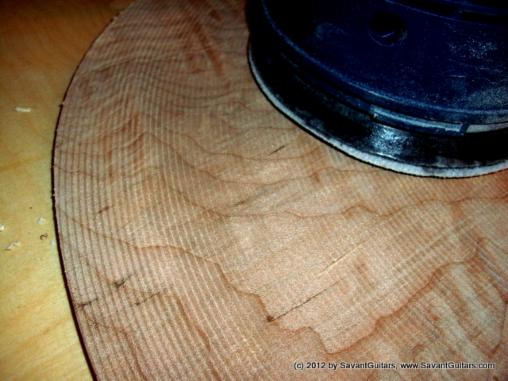
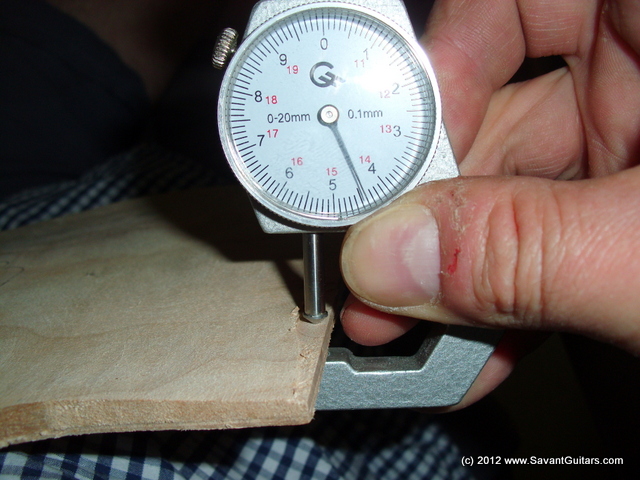
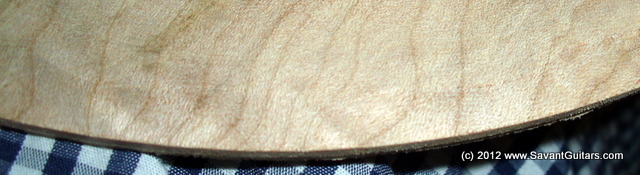
Check of the thickness at the edge around the outline (top has approx. +0,5mm additional "meat" at this stage for final profiling and sanding down to final edge thickness of 4.4 - 4.5 mm):
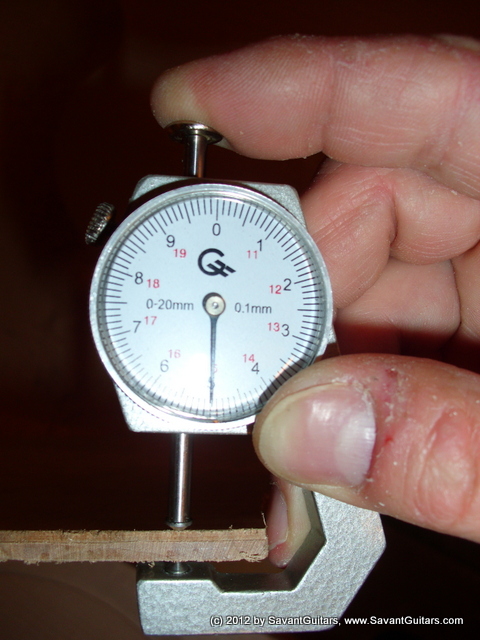
Thickness is consistend around the outline (except the cutaway of course), here at the widest point (note the CNC router marks/circular lines):
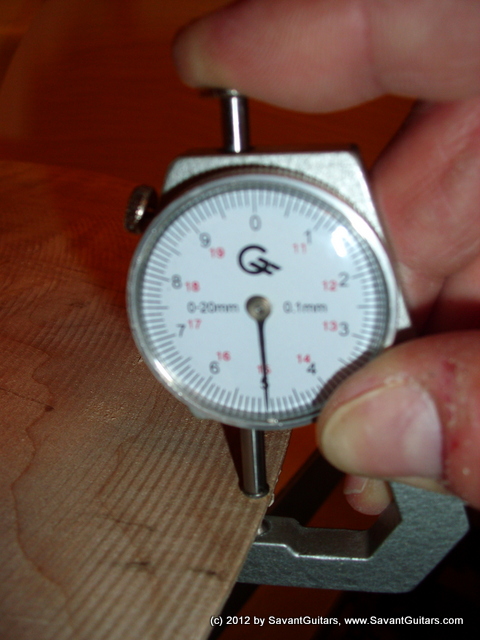
... and at waist, all seems to be properly set on the routing programm and the result is an even thickness at the edge:
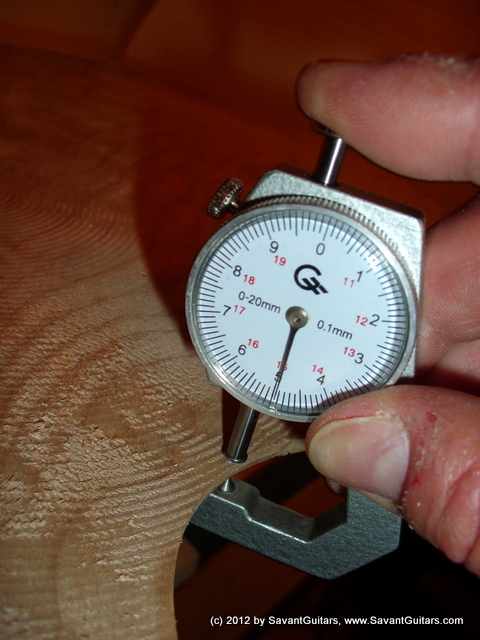
Caliper shows metric dimensions in milimeter
---
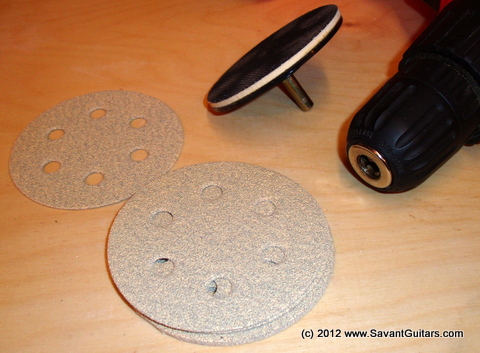
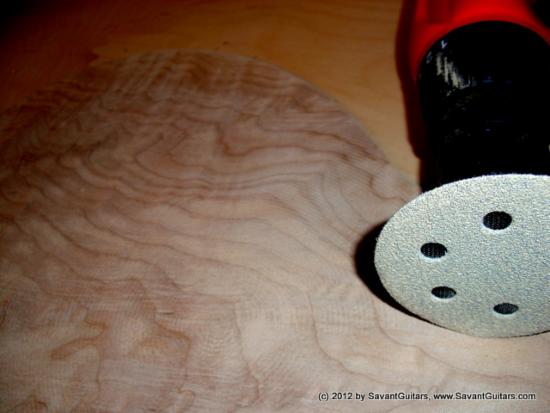
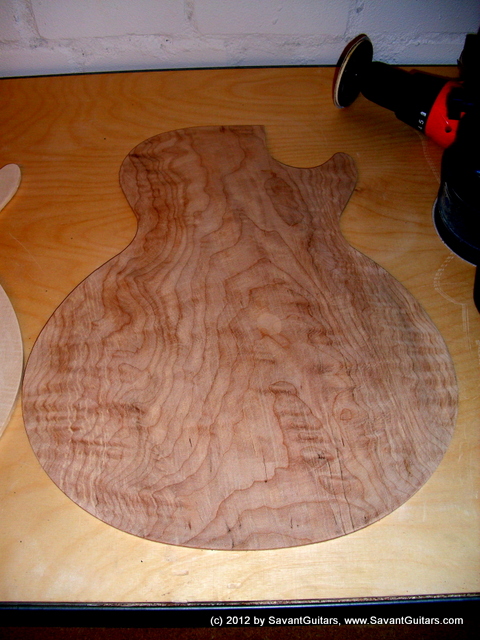
Next the tops get a sanding to remove the tiny routing marks from the CNC. All you need is what is shown below: a top, orbital sander and a drilling machine with a sanding disk attachement (for removeable sanding disks of various grids).
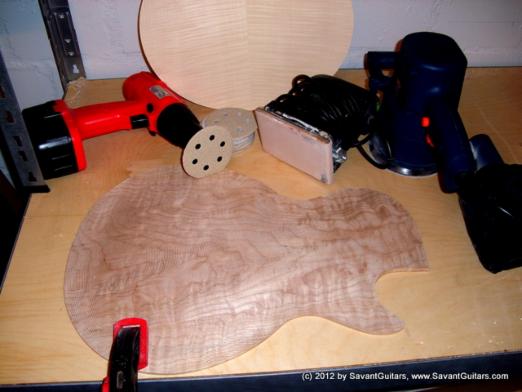
At first the heaviest sanding operation is done with an orbital sander with a 80-grid sanding disk to remove the major routing marks; rough adaption of the top profile -if requested - is done at this stage, too:
The final thickness of the edge will be routed once the sanding operations of the top are done: if the thickness would be set to final dimension before, the result of the sanding process would be an uneven edge thickness because the orbital sander is leaping over the edge while sanding down the CNC routing marks (that´s why we added some "meat" at this part).
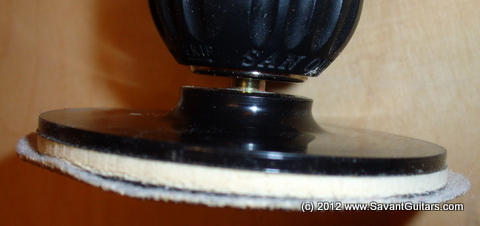
After the main routing marks are sanded (but still slightly visible) the next tool of choice is the drilling machine with a small sanding disk attachement (75mm dia) installed. These (and smaller) sanding disks are widely used for preparation of automotive painting jobs and for spot repair, we checked a lot and finally decided for the shown one below because it is the most sturdy one we examined - for contouring you need at the beginning stiffer sanding disk base, later you can switch to a soft(er) padded disk.
Use always good sandpaper or sanding disks ... the one´s I use are from "Kingspor" and last very long without clogging (for the sanding operations of one top I needed just 1 sanding disk for each grid used):
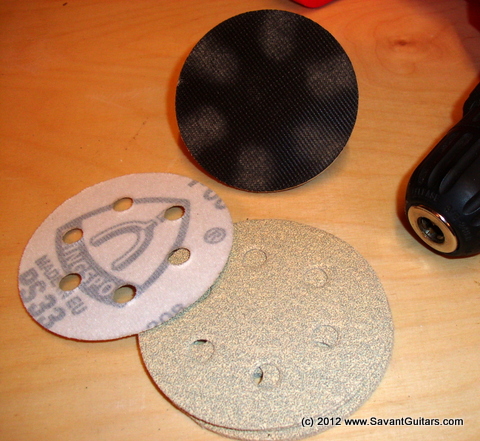
The black base of the sanding disk is made of very rigid plastic to support an efficient sanding operation. The white layer is hard foam to prevent "dings and dongs" (long "valleys" instad of quite flat sanding areas) from sanding with a tilt-held sanding disk (using the edge); last comes a self adhesive layer for sticking the (overlapping) sanding paper on):
In the pic below you can still see (left of the white sanding disk) small circular routing marks from the CNC that will be erased soon:
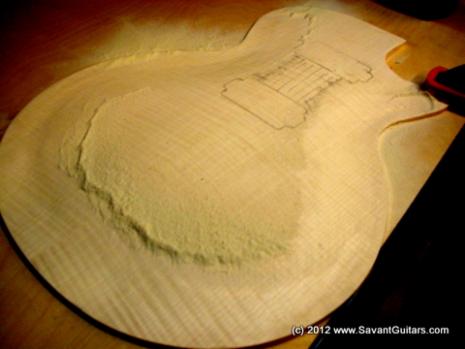
Below you can see the dust that comes from sanding with 60-grid sanding discs, thrown up to the top from fine-tuning the shape. At this stage the profile and re-curve gets a more detailed individual shape. This top is designated to become a quite thin (within the range...) and quite deeply re-curved one.
Remember that sanding dust may cause allergic reactions and is def. not good for your health, use a dust mask - I need even to wear protective glasses when sanding maple, otherwise my eyes become quickly dry and I have some problems the rest of the day.
Below the last tiny circular routing marks from the CNC are visible - these we will kill now finally:

This maple is hard (to sand):
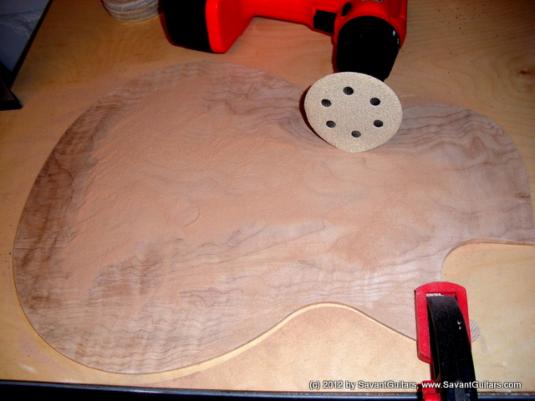
Same process as above is done to the flamed maple top. The customer wants the waist part of the top to be more contoured and profiled (narrowed), the right time to do the rough work for this is now:
Top is clamped to the working bench using a grip clamp: maple is hard and needs some pressure down to do the sanding efficiently... and you do not want to throw the top across the room when using rotating machines on a unsecured piece of wood:
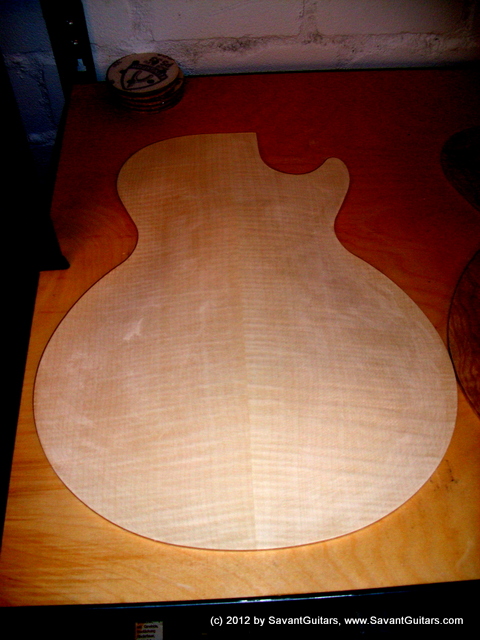
At this stage the sanding of the tops is done to the point that any further sanding can be made by hand after the top is glued onto the body later:
The other one...
Together again:
The neck angle (4.0 degree) has to be precisely set onto the maple top at the part where the fingerboard is glued later onto the maple. Same with the angle of the pickup plane/centerline (1.1 degree). This will be done after the top had been glued onto the mahogany body.
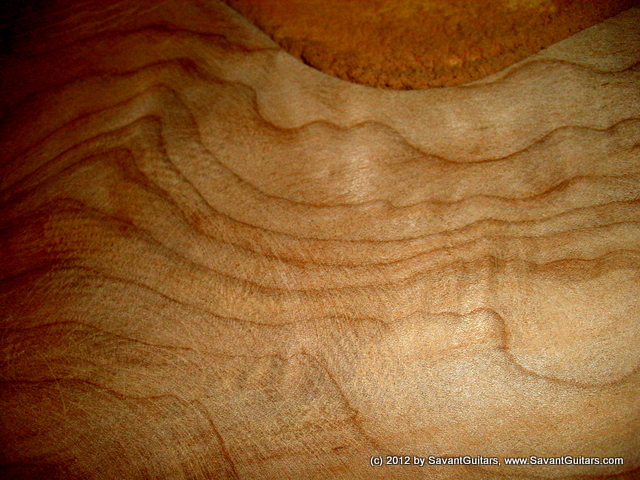
The shaping (sanding) of the contour goes on, using the sanding disk - now all routing marks are gone and the recurve is set to (almost) final depth, same with profiling the (narrowed) waist (wood wetted with naphta for the next pics):
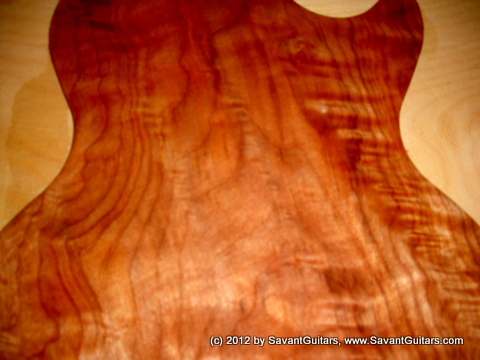
It is hard (for me) to take pics showing the top profile when working with quilted maple ... the result looks even flat on some pics ... turn on your imagination (or let me know how to take better pics).
For better identification I will skip showing pics from the quilted top from now on, concentrating on the flamed top as this shows better the progress due to the more homogenous appereance of the wood.
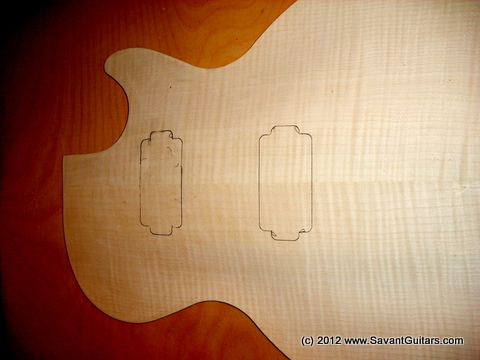
Now we turn to the top contour what has to be worked out a bit more detailed as requested. Starting with the top that had the CNC routing marks eliminated as shown above:
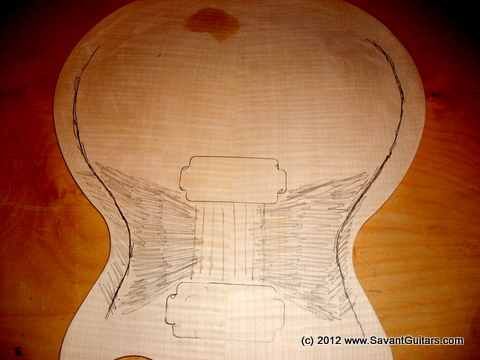
The position of the humbuckers are penciled to get a guideline for further finetuning of the contour with the sanding disk:
To make the sanding results better visible (hard to see on white maple without tricks) now the area that will be profiled most gets marked with pencil lines to see where the (forthcoming) sanding has been done:
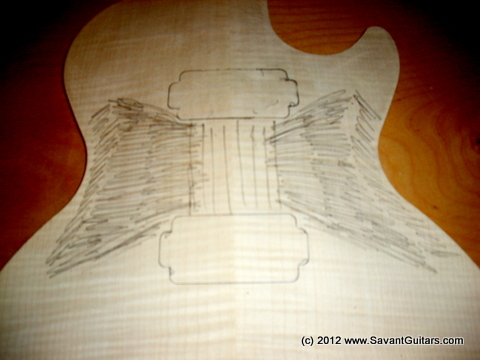
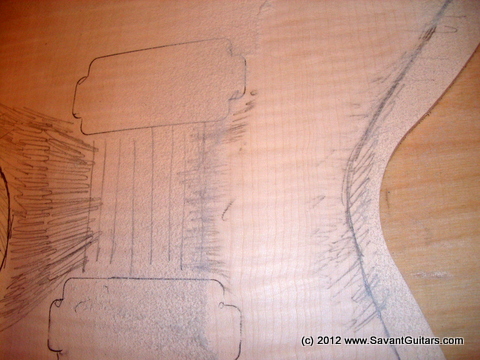
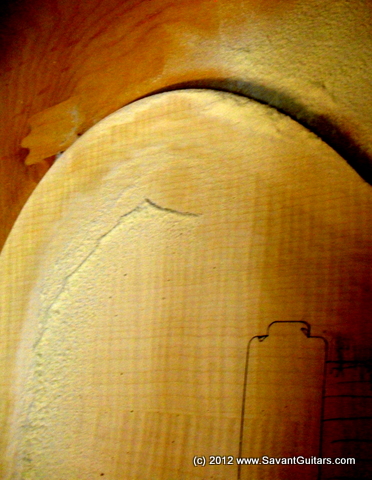
Adding the recurve area (spot on top of the pic is from a water drop) with a penciled line:
... and now we start sanding with the sanding disk: by tilting the disk while sanding you can do a very accurate contouring job (sanding concentrated on the small area where the tilt sanding disk meets the wood) - the pencil lines are erased while doing the profiling and you can easily see where you are with your job:
... again covering the area to be sanded with pencil lines to see what you are doing:
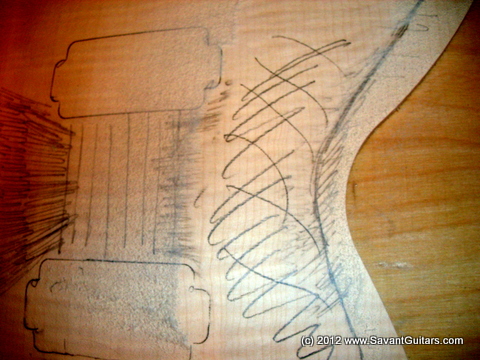
Same procedure to the other side of the waist (note the erased pencil marks and the intact ones between the humbucker positions: here we do want an unaltered (slightly domed) surface and no sanding):
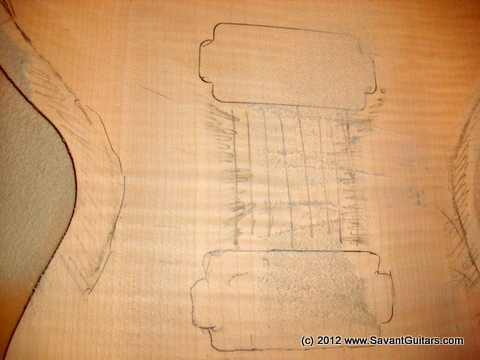
... then we work around the recurve line to get a more pronouced recurve area: again the sanding follows the pencil line with a tilt sanding disk, erasing the pencil line and surrouinding part precisely by sanding with the tilt-held sanding disk in small circular movements:

... some more contouring (on top of the top you can see wood dust from sanding the outer part); the waist may seem a bit too much narrowed, but this part will be widend again when later setting the 1.1-degree plane from the bridge position to the position where the fretboard ends - from this point on to the top of the body the neck-angle of 4.0 degree will be applied:
... and here you can spot the recurve at the belly (and wood dust) after doing some more contouring - feels good for this stadium - never touch a running system... the final sanding is done by hand later:
Here we go on: to set and assure the even thickness of the maple around the edge to 4,37 mm (reference: Gil Yaron) the CNC is set accordingly to 4.4 mm, what is just around 0,5 mm less than measured at the beginning (when the top came out of the CNC, see above):
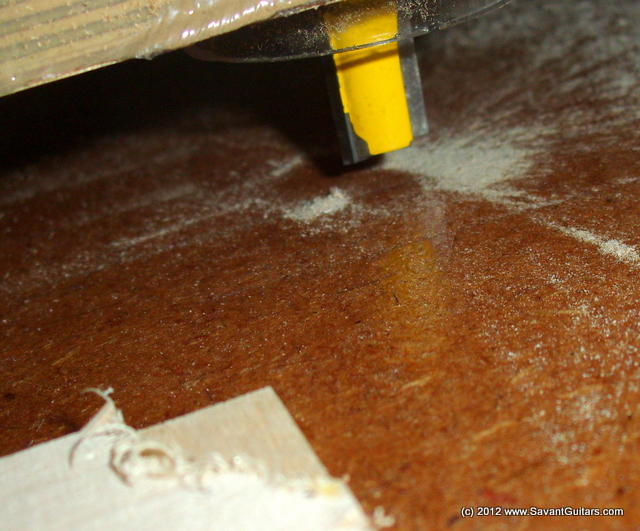
... and the setting gets tested on a piece of straight (multilayer) wood; 4,4 mm - as good as it gets:
... and now we do the test at the upper part right where the neck tenon will be installed (and the maple is routed through anyway, this is the right place for a test-rout):
... and done by shifting the top along the edge under the rotating router:
... and another check: just a bit above 4,4 mm, that is what we need for final sanding:
... and going now trustfully on along the edge:
... being esp. concentrated at the waist part as the curve starts quite near the edge and we do not want to rout into the curve:
... once done around the edge (except the horn/cutaway section of course) we end up with the right thickness around the edge, leaving some routing marks (not visible well in the pic below, still hard to take pics from some things):
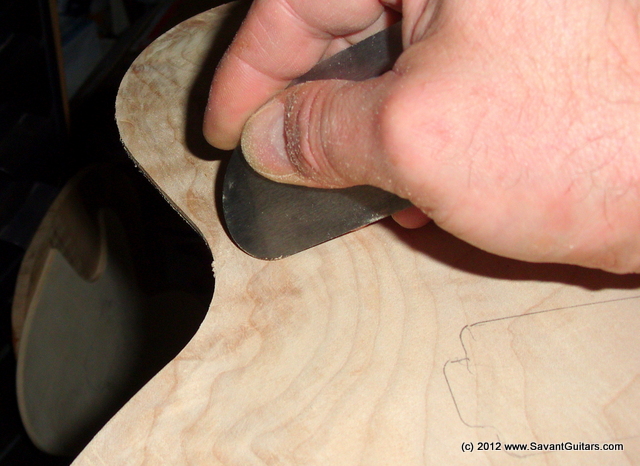
... and now my new most-beloved toy is entering the game: it is the new Caruth-inspired scraper from StewMac, I fell in love within seconds when I tried it for scraping, esp. for the transition of the (now) routed line for even thickness and the curve of the top:

... it is made from thick D2 steel and can be used almost like a rubber:
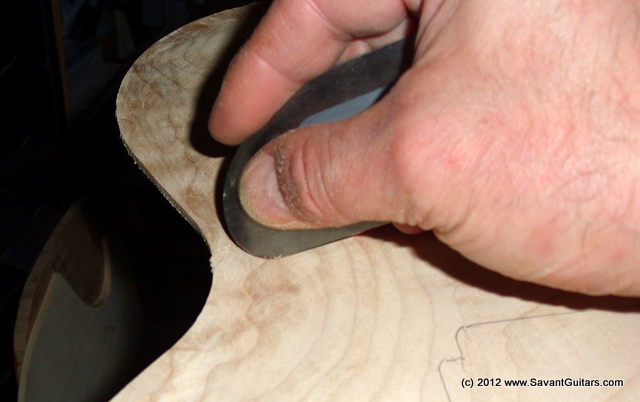
... the rounded shape helps to pronounce the recurve and the shape of the top - I am not afficilated with StewMac in any way and do not benefit from promoting their products, but this scraper is a "must have"!
..........
Next to come: details of final preparation of the top shape (1.1 degree plane at centerline from bridge to top and 4.0 degree neck plane) and finally setting the edge to the right thickness before gluing the top to the mahoganie core.
---
- TBC - TBC - TBC -
---
Back to top of this site: avoid scrolling and click here
----------------------------------------------------------------------------------------------
Due to public request:
We use for finishing special vintage correct
(pure) nitrocellulose lacquer without plastinizers, no pre-catalyzing other modern ideas have been done, just the vintage correct stuff for replicas that will CRACK by the time ...
this is custom made for us by a small German company and not available
anywhere else. We offer this exclusively now for the first time to the
public for 25 Euro/liter (plastinizer available separate for own mixing if a NOS look is aimed for).
The top was glued to the body in the 1950´s using UF-glue (urea-formaldehyd based), most probably the reason was that Gibson glued the top to the body using a stackered method: stackering body-top-body-top etc., then the whole pile got pressed down from top instead of clamping each body/top individually ... UF glue has a longer open time and out of simple production reasons this kind of glue was used here (my guess).
Took some time to source this UF-glue but finally we got it and we will use it just out of the reason to use the period correct materials. Nice story about sourcing UF-glue: usually this is sold by wholeseller in 35 kg bags and because they are sealed no one was willing to share a reasonable quantity. Finally I turned to the manufactur and kindly asked for help if he knew a seller that was doing retail business. The technical director informed me that they are a big production company and that they are selling this stuff in lots of 32 tons to their customers ;-) ... but the kind man was willing to help the "guitar industry" and pulled out some kilogramms for us - it is the same stuff that SONOR uses for making their drums, btw.
Reg. Binding a sneak preview to answer a question that came up: body binding was made of cramish ABS, neck binding was made of off-white celluloid (last being a bit whiter than the body binding). We will use the vintage correct material ... if interested in the right celluloid binding for the neck just ask, same for 2mm ABS for the body.
------------------------------------------------------------------------------------------
Make your choice and press "Abstimmen" (=voting), "Ergebnisse anzeigen" means "show results"
---
visitor counter reset June 15, 2012